 |
|

| Home | Current Progress | Donor | Engine | Chassis | Exterior | Interior |
|

Bumpers
Rear Bumper
Well I tell you I have been searching for a suitable set or replica backup lights for over a year and I was about to just order an original set from Lamborghini until I found a set on Flech's website (www.lambolounge.com) I emailed him and he graciously gave me his other set. (THANKS FLETCH!) they are in fact Mitsubishi backup lights. You see when we got our kit D&R gave us a set of Fog lights to be used as the rear backup lights. No mater what I did I could not figure out how to mount these things properly to save my life. There were just not made for that application. Since then D&R uses that same light in their new molds so I will be demonstrating how I got them to work on my bumper.
 |
 |
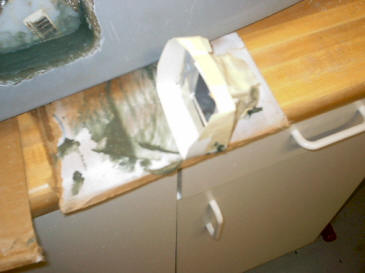
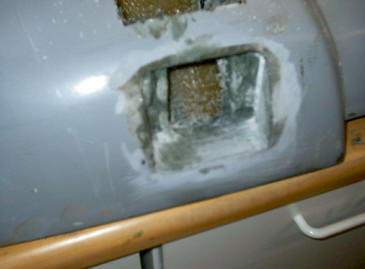
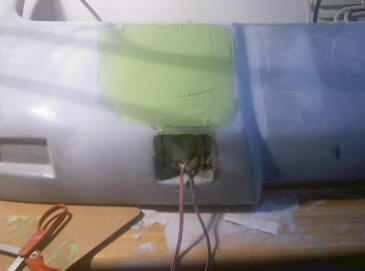
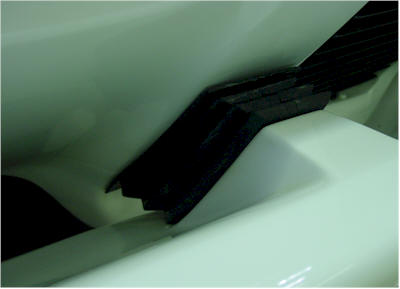
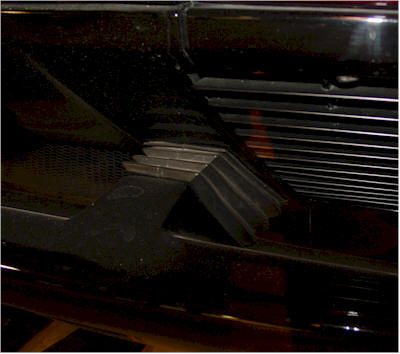
| First I fashioned the opening using the new lights. I protected them by using masking tape and poster board. | First I had to cut my precious bumper to give me access inside and behind. I carefully cut a hole and kept the fiberglass piece as I would have to replace it later. I built up the top of the bumper so that it would look original .. see the next image....(The bumper is upside down in this image) |
 |
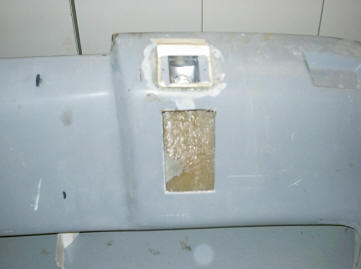 |
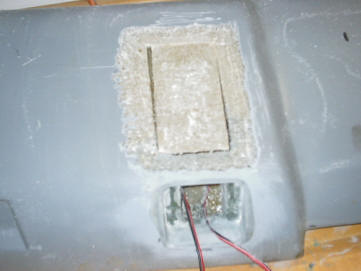
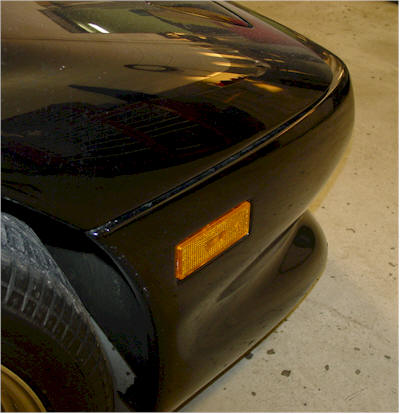
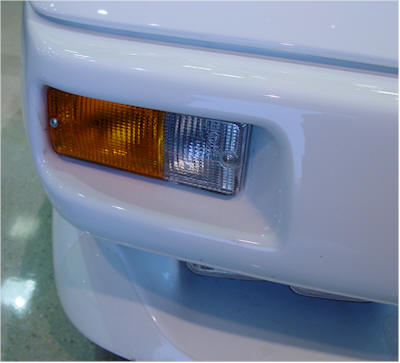
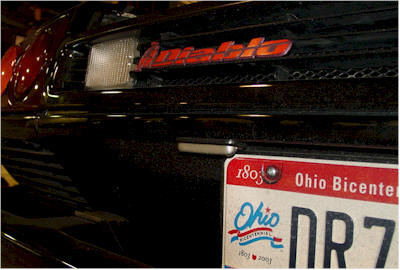
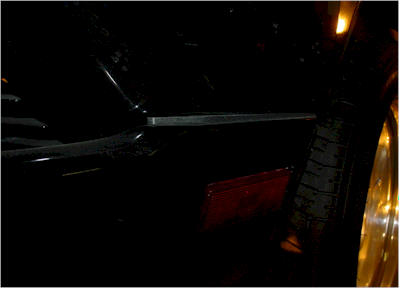
| Here is a picture of the original. | I placed the light where it needed to be positioned. |
 |
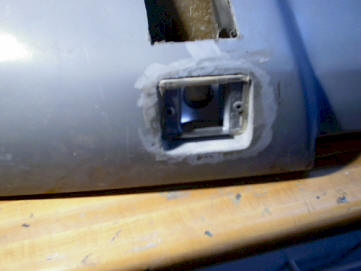 |
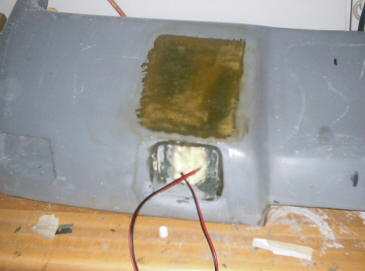
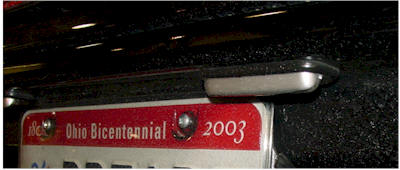
| Close up view | Reaching from behind I used Marglass (Duraglass) to form the rear so I woul dhave something to screw into. |
 |
 |
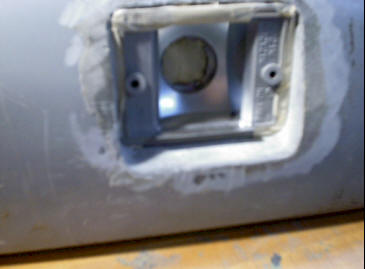
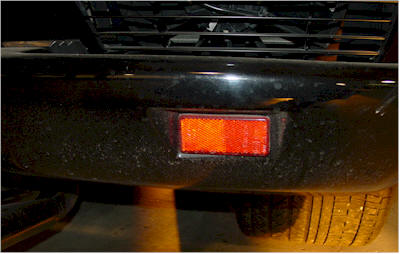
| Close up | After drying I removed the light and then reinforced the duraglass with fiberglass and resin and then sanded the new opening.. |
 |
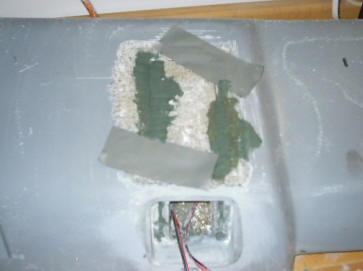 |
| I replaced the privous fiberglass piece being sure to grind the edges on both the pice and the bumper to ensure a good connection for the new fiberglass | I duct tapped the piece in and put a small cost of Duraglass on the pieces to hold while I put the fiberglass on. |
 |
 |
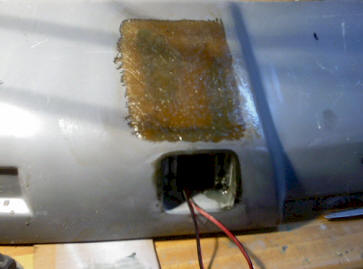
| I fiberglass the piece in | Sand and body fill the contour |
 |
|
| And after it is all smooth and AFTER I ran the electrical lines I use Great Stuff expand foam and filled the bumper. I did this mainly to prevent the wires inside from moving and making sound. It also give it a bit more rigidly and does not sound hollow. | |
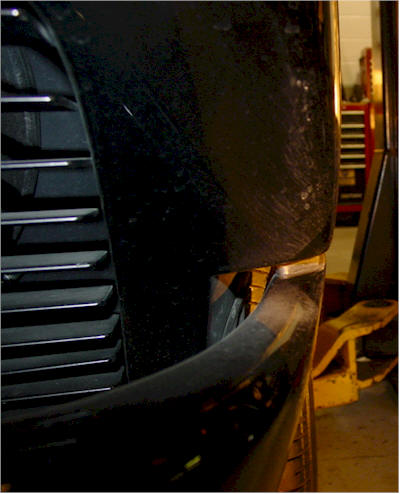
| Here are some pictures I took of the Real Bumpers | |
 |
 |
 |
 |
 |
 |
 |
 |
 |
 |