 |
|
| Home | Current Progress | Donor | Engine | Chassis | Exterior | Interior |
|

Deck Lids
Rear Deck lid
 |
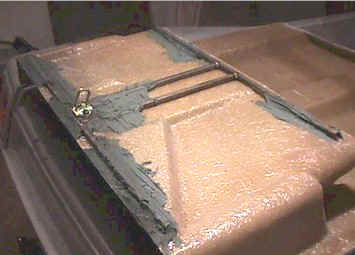 |
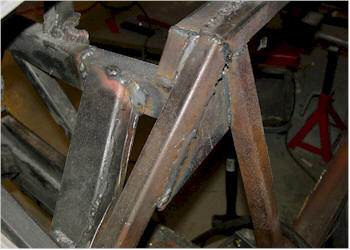
| I started on the rear deck lid and beefed up the area where the latch is mounted | |
|
|
|
|
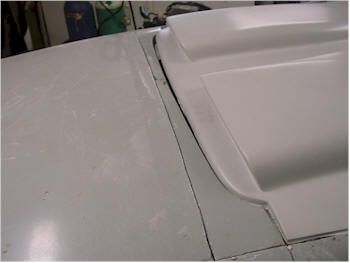
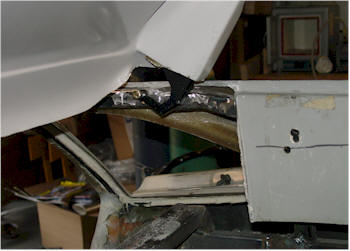
In my quest for authenticity and since working on the engine and the engine bay, I decided that instead of just having a "jota" style lid we wanted a fully functional lid found on the SV body style. Only one problem the only SV lids out there with the under ducting are exact replicas from the original. The reason this is a problem is that D&R's kit has some modifications in order to accommodate a Fiero Chassis and one of those modifications is the Roof line is extended about 4 to 5 inches. Since we had to move the firewall up 5 inches for the LS1 engine it only made sense to move the window back to the original location. |
|
 |
 |
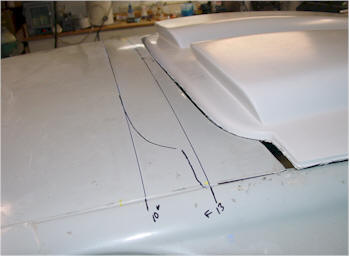
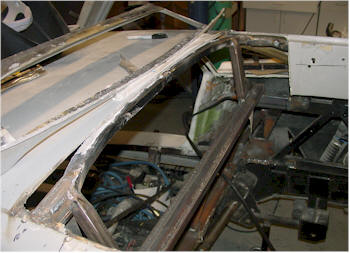
| We found a slight discrepancy in the roof line in that the Passenger side was 1/2" shorter than the Driver's side. We now had the opportunity to "fix" this and took measurement from the door jam to find the proper cutting location. | The cuts lines are drawn out |
 |
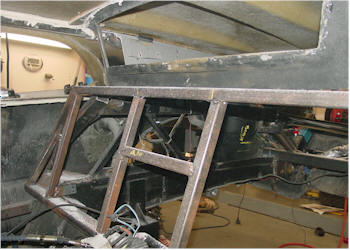 |
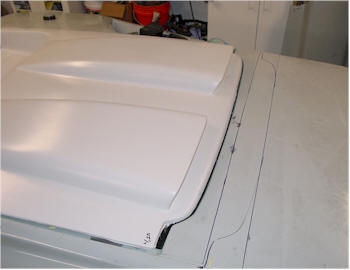
| Another angle | All the old steel is removed |
 |
 |
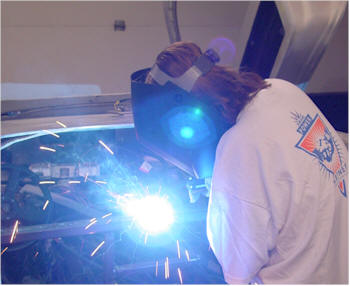
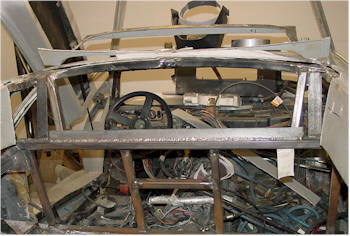
| I finally got my wife to help in the project after wasting 500 lbs of gas on practice steel I turn her loose on the car with some easy welds! she did a great job too. | The roof is cut and the hinge is temporarily installed on the ducting side of the cover. |
 |
 |
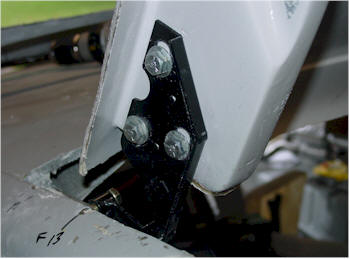
| Another angle | We are using original Diablo hinges, again for authenticity and functionality. |
 |
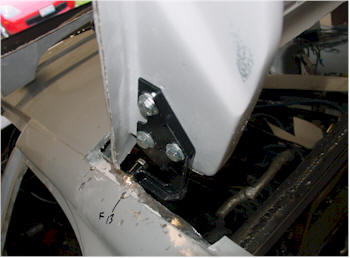 |
| The Decklid had the original bolt locations so we were able to perfectly position the lid. | Another view |
 |
 |
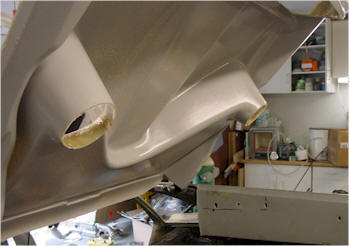
| You can see here the intricate detail of the under ducting of this lid. It is truly a work of art. | The new steel is in place for the rear window. |
 |
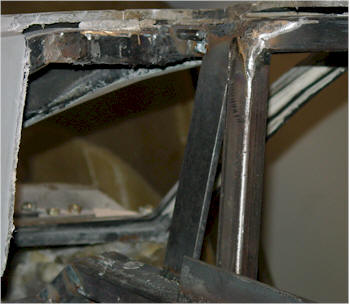 |
| Another view of the steel | We welded in a 1/4" bar for the roof hinge stop. |
 |
 |
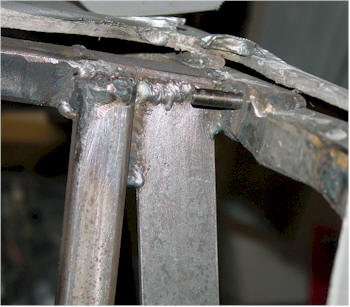
| We cut out a 1" square out of the roll cage and fabricated a 1/4" X 1" square and drilled a hole to accept a piece of stainless steel rod. We welded it from the back side to prevent from having a weld seam where the hinge slips on. This allows a smooth rust prevention for the finished piece. It is a small hole drilled to accept a cotter pin. We are making this like the original so that you can remove the hinge if you need to. | Here is a close up of the re-worked under the window reinforcement. |
 |
|
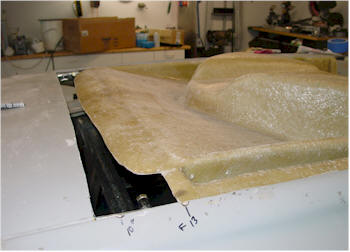
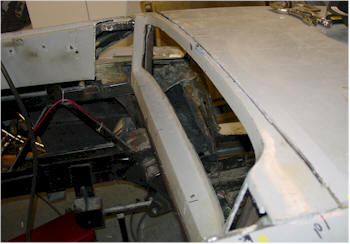
| We re-fit the window piece and it is now ready for "fiberglassing" back in to place. there is still a lot to do to fit the piece and to make it look more original. | |