 |
 |
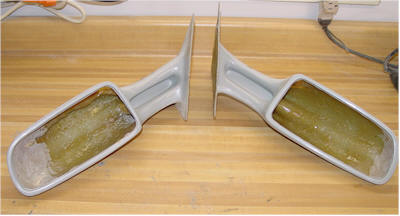
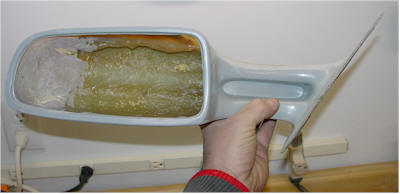
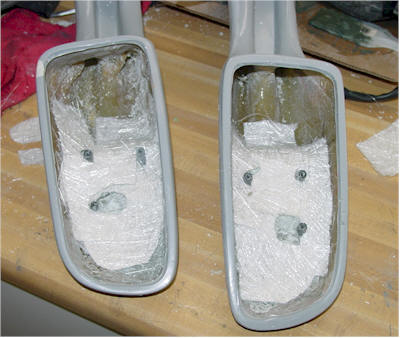
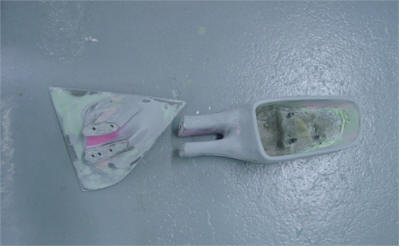
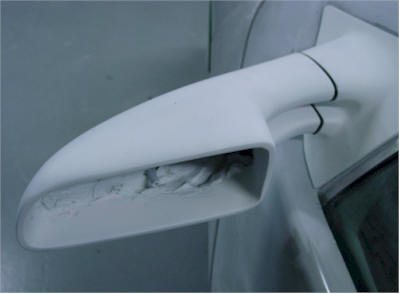
| These are the Mirrors that came with the D&R
kit. There is not any nice locators for the motors from the Fiero
like some other kits however the fiberglass is very good quality. Since
I want it to look original and I wanted the detail of "break-away"
mirrors I decided to attempt to convert the one piece mirrors into two
piece. |
 |
 |
| |
|
 |
 |
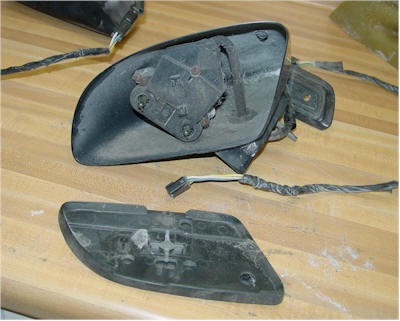
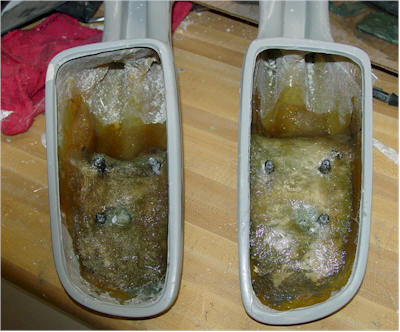
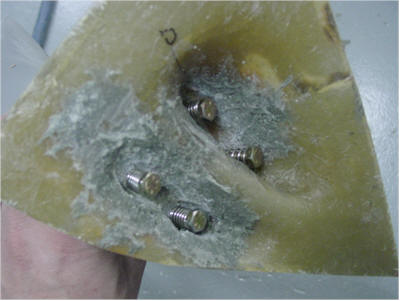
| This is the original Fiero
mirrors and motor assembly. Rather than trying to snap the mirror
on and off I removed the glass from each mirror. This reveals
three screw holes used during the manufactures assembly. At the
factory they mounted the glass in the mirrors last by gluing it on. This
is what I plan on doing do minimize the risk of damaging the pivots. |
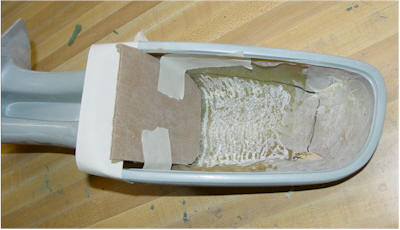
Since the Mirror has no
mounting location I filled the bottom of the Mirror bucket with
Duraglass |
 |
 |
| I then set the Original
assembly with the metal mounting stand with the mirrors at the middle
settings "Neutral" Meaning they have room to go up and down
and left and right. |
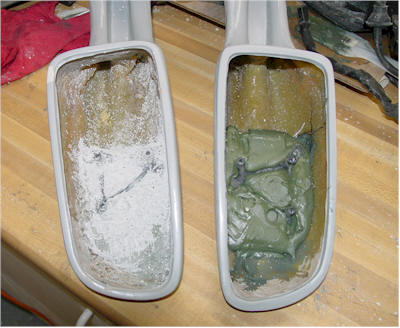
After the Duraglass setup
I unscrewed the mirror motor assembly from the stand leaving a perfect
mounting location. |
 |
 |
| I reinforced the mounting
brackets with fiberglass |
|
 |
 |
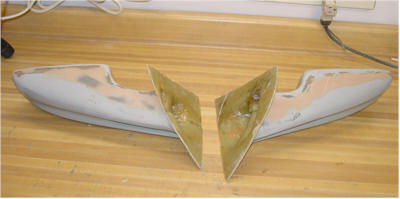
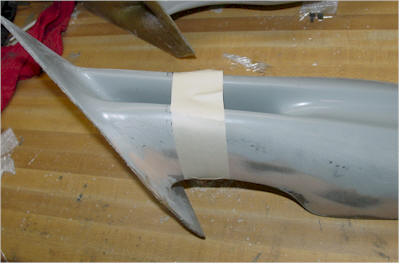
| After closely looking at an
original I marked a perfect line around the mirrors so that I could
separate it with a straight cut. |
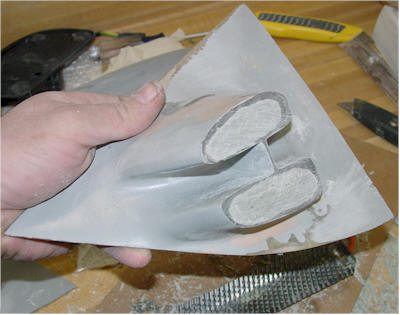
I followed my lines and
used a metal hacksaw blade to make a flush cut |
 |
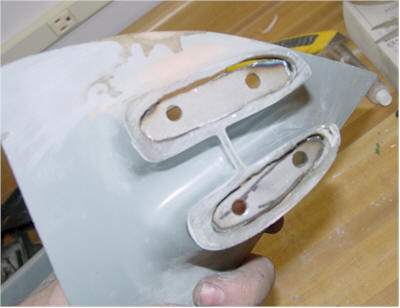 |
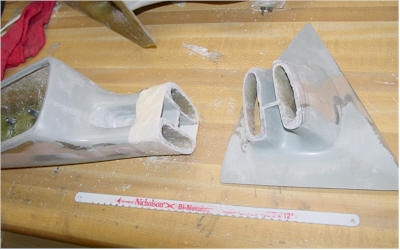
| I then cut 1/8" steel
plates to reinforce the mounting points |
the is the other side you
can see the metal is recessed about a 1/4" |
 |
 |
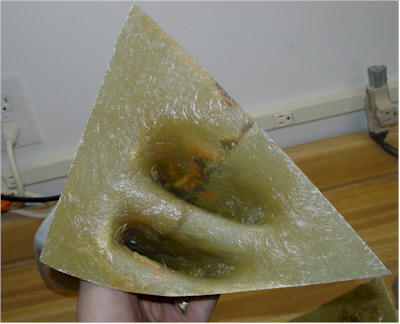
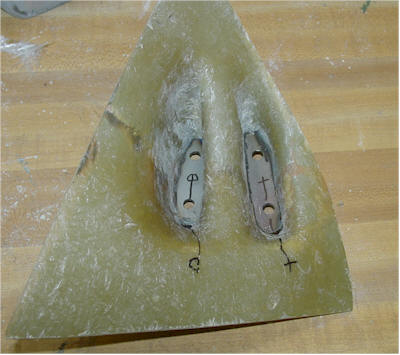
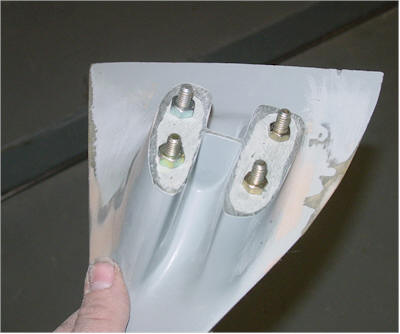
| I filled in the area with
Duraglass. To make it stronger I chopped up some fiberglass and
mixed it in. I then drilled out the holes matching the holes I
made in the steel. |
I fitted four 1/4" bolts
and placed a spring between the bolt and the inside of the mount.
This will allow for the flex the break-away mirror need |
 |
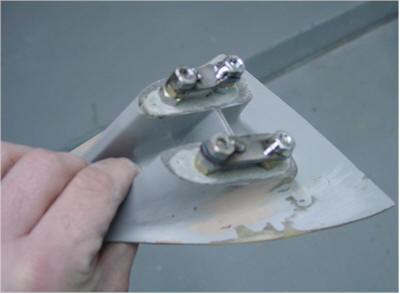 |
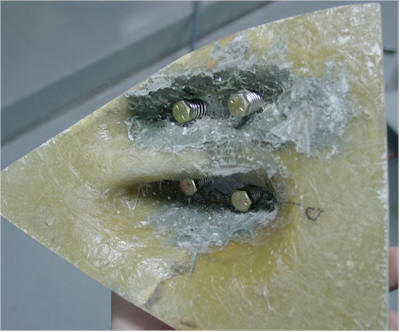
| I secured the bolts with a
temporary nut |
I then cut two more1/8"
steel plates just enough to connect two more permanent nuts. The 2
I placed on first simply provide me with the 1/4" spacing I will need
for the other side of the mirror. I tacked welded the nuts to the
plate. Since these nuts will be glassed in I did not want the
chance of them breaking free in the fiberglass later thus being useless. |
 |
 |
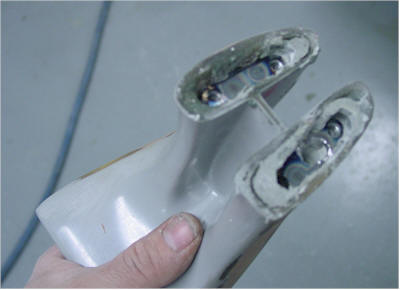
| I then placed Duraglass
inside the other side of the mirror and then pressed the two pieces
together. After it hardened I unbolted the mirror. Filled in
the area with Duraglass leaving the two bolt holes. Before I did
this I drilled a larger hole for the wires to feed through. |
I then bolted the
assembly together |
 |
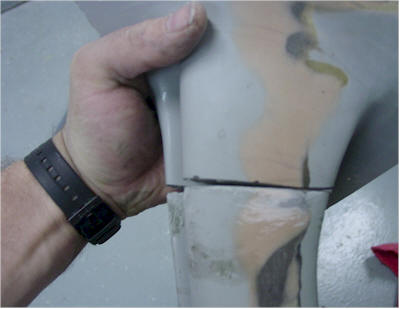 |
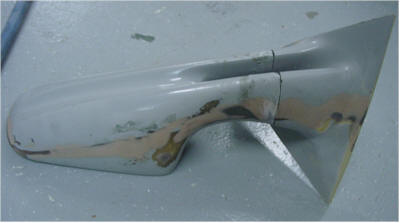
| Depending on how much I
tightened the bolts on the springs determines the amount of "flex" the
mirror has. Because there are 4 bolts there is no need for any
guides. |
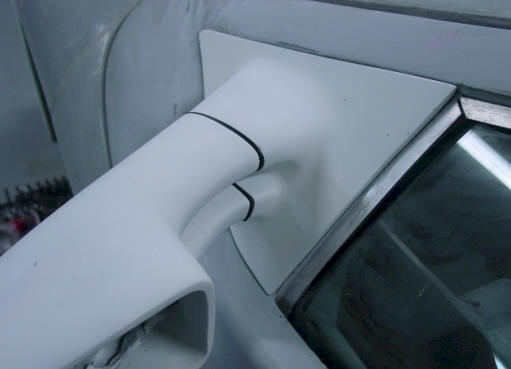
I still have to finish off
the mirrors and place a plastic bushing between the pieces however you
can see the flex of the joint in this picture. |
 |
 |
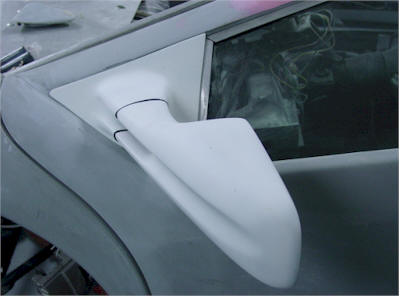
| Finished and ready for
primer |
|
 |
 |
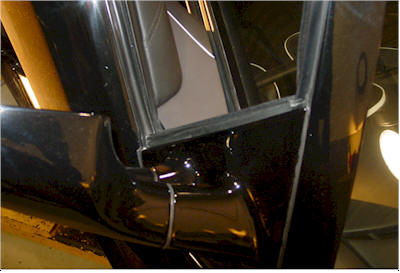
| All "primered" up and with
the plastic cushions installed |
The plastic cushions is
simply a piece to black ABS plastic cut, sanded & polished |
 |
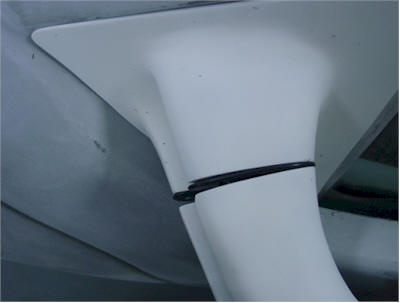 |
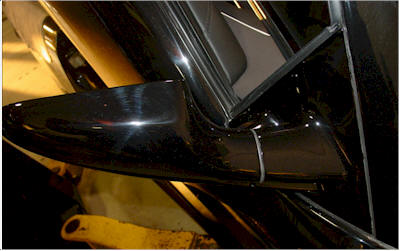
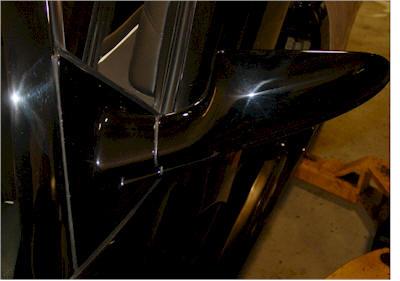
| Looks pretty nice if you
ask me |
You can see the flex the
assembly has now |
 |
 |
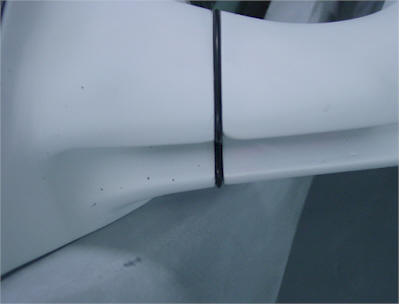
| I can vary the flex by
either using softer or tighter springs and how much I tighten the
screws. |
On final assembly I'll use
lock tight to ensure they do not come loose after I do the final
adjustment |
| |
|
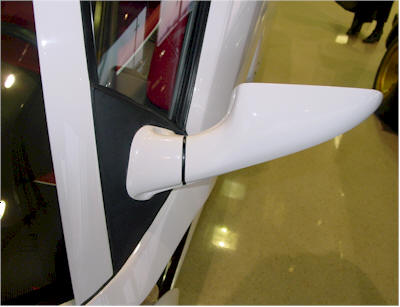
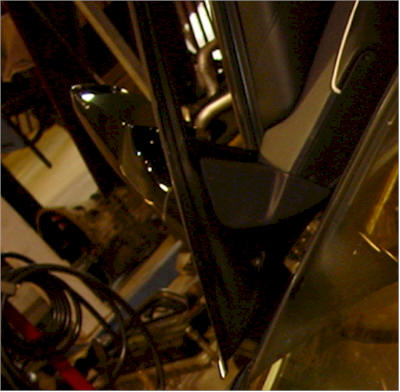
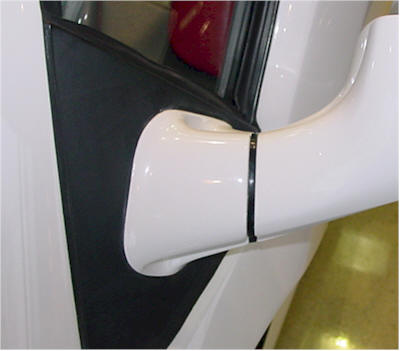
| I have included some close-up images
of the Mirror of a real car |
|
 |
 |
 |
 |
 |
 |
 |
 |
| |
|
| |
|