|
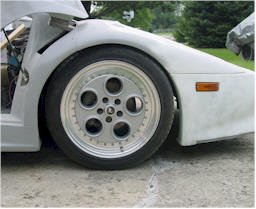
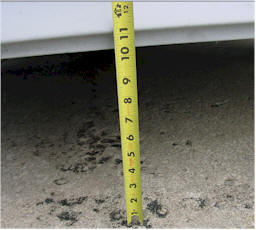
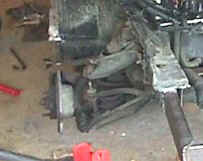
Four
inches clearance, that is the average distance from the
bottom of the front bumper lip and the road beneath.
Five inches, this the size of your average everyday
speed bump. What does this tell you? Well aside from a
cracked bumper, you have between $500 to $5000 in
damage. If you have heard this scenario before, it is
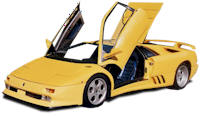
likely that you know we are talking about the
Lamborghini Diablo and Countach's both original and
replica's. There have been some crafty folks who have
attempted to solve this problem in the past including
Lamborghini themselves who have since moved to a air
lift system in the late 90's. We have seen Kirban's
"Devil" with the modified skateboard trucks and others
who are using lawn mower parts, and we have seen some
people's attempts to add air bags to existing
coilovers. Although these are "work-arounds", we felt
that there must be a better solution to this problem.
At a "Tuner & Power Jam" event some staff members
attended last year, we were introduced to a product call
Shockwaves from the Indiana based company AirRide
Technologies. The car was a truck that appeared to have
no springs but rather something that resembled a Coil
over or shock. With the press of a button and 2 seconds
later, the truck went from "laying" on the ground to
about 5 or 6 inches above. Talking to ourselves, we
thought this would be a nice setup for the Lambo cars
and lifting up the front high enough to clear obstacles.
The fact that it took just a second or two added to the
excitement. The ones we saw at this show were
immediately dismissed, because we could not see how they
would fit in the popular wide track A-Arms. They were
almost 9 inches in diameter but the idea was, "what if
we could get smaller ones, would they work?" The next
week we contacted a few "Tuner" customizing shops who
install these air systems. We contacted Trendsetter
Customs in Dayton, Ohio and they gave us more
information on AirRide and showed us their smaller 6
inch Shockwaves. We came to the conclusion that this
system may work. Although we had what seemed to be the
solution, we were hoping to provide builders and owners
an even better option. We contacted AirRide
Technologies and explained the problem and how their 6
inch Shockwave may work but we would need to check
clearance with a model or a product version. They were
willing to work with us to help find a solution and to
our surprise AirRide was in the final stages of
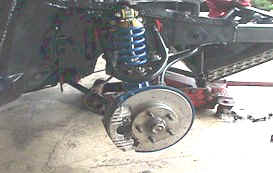
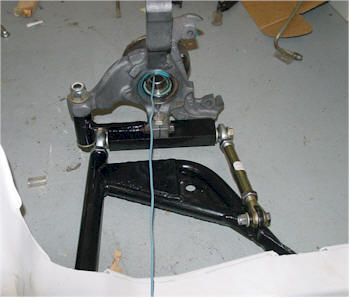
releasing a new four inch version. After a check with
our application and weight requirements it was agreed
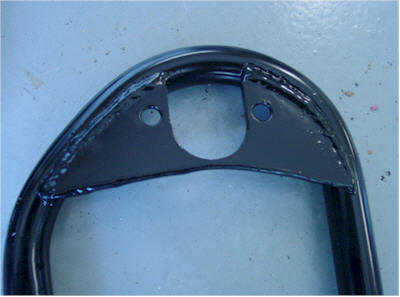
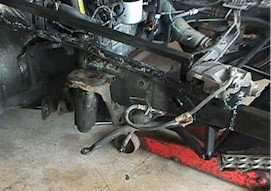
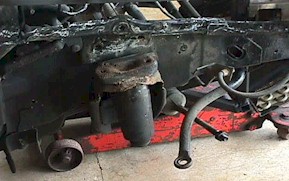
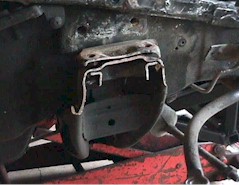
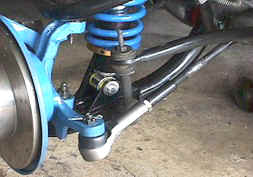
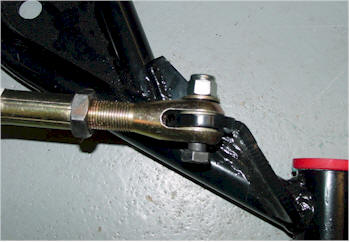
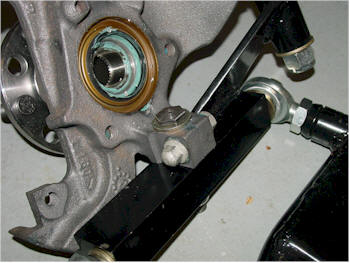
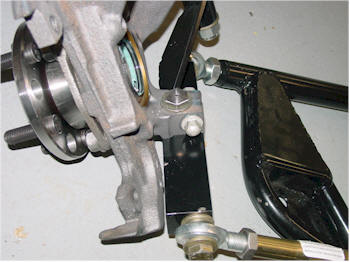
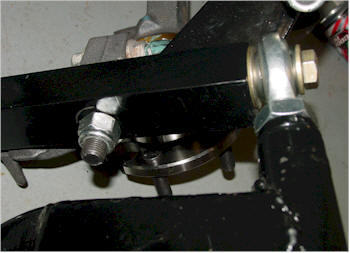
AirRide's 4" shockwave may do the trick. Shortly after
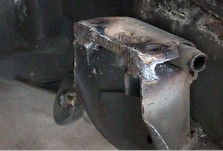
we received the new versions and indeed they were almost
perfect but required cutting some of the top A-Arm
mounting plate off to clear the bag at full extension.
AirRide also did not like the fact the there would be
modifications in order to get their product to work,
since most of their "kits" are made for a novice, bolt
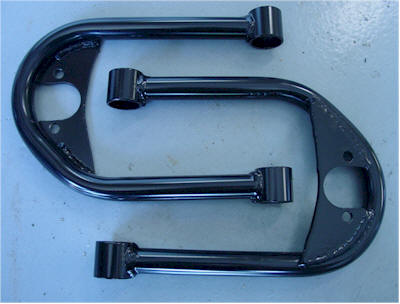
in application. We decided to make the modifications
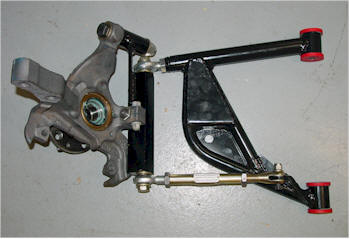
and then decided to called on our friends at Held
Motorsport and told them about our project. Held
Motorsport is one of the leading manufactures of Fiero
and after market suspension in the US so we valued their
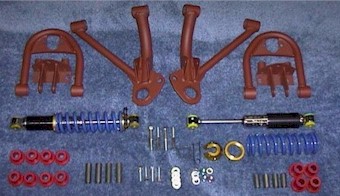
opinion and it was their A-Arms we had to hack up.
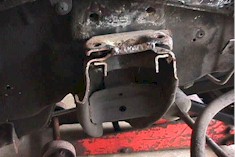
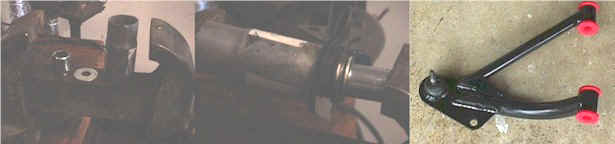
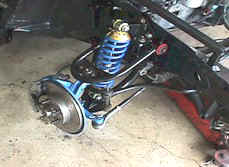
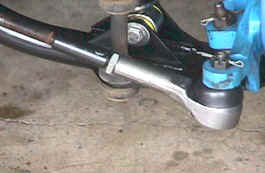
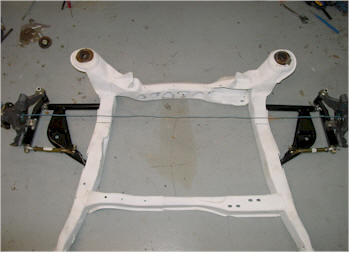
Since the A-Arms that most KitCar builders are using,
are Held Motorsport brand, we were hoping that we could
develop an A-Arm together that would accommodate the
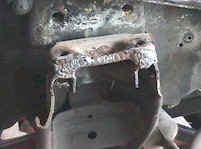
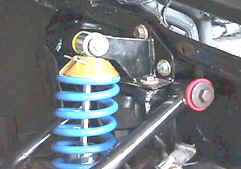
larger area surrounding the shock. A few weeks later
Lee (president of Held Motorsport) sent us out a set of
modified A-Arms that were beefed up around the top plate
to accommodate the missing material removed to clear the
Shockwaves.
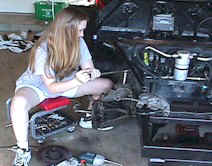
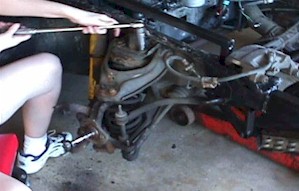
Testing and
installation:
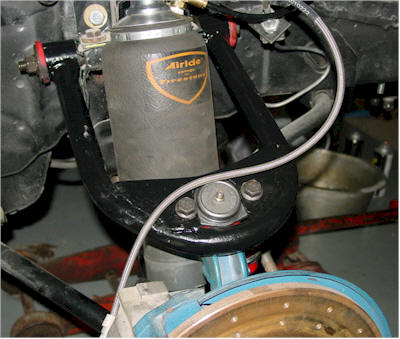
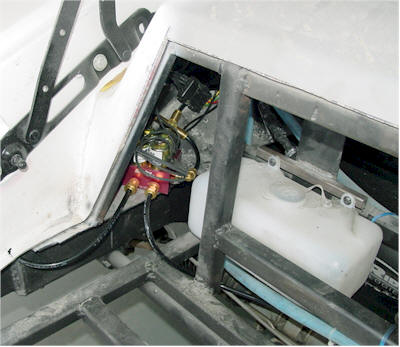
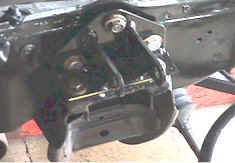
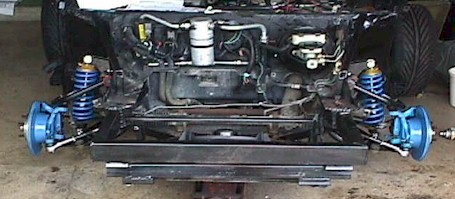
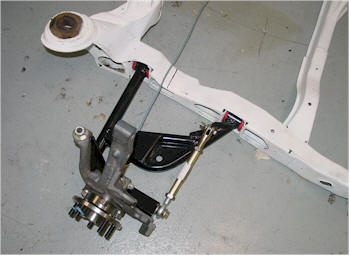
Our friends at
Trendsetter Customs installed all of the basic
components of the AirRide system. Their work was
impeccable and in a few days the installation was
completed. With the push of a button the car lifted
instantly almost 5 inches higher than at full deflation.
We did have a slight problem. At full deflation (no air
= no cushion) the car sat about 3 inches too high. A
quick call to AirRide corrected the problem and we sent
the Shockwaves back for a custom length. 3 inches were
removed from the piston and a week later we re-installed
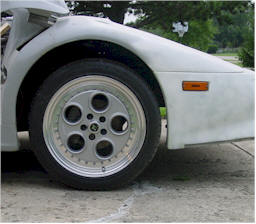
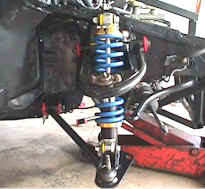
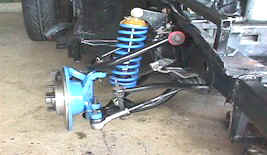
them. At the correct ride height and 80lbs of pressure
the car looked at it's stock height. At the touch of
the button the car raised about 3 to 4 inches plenty of
room to clear the most difficult road obstacle. We
finally had it, a completely bolt on AirRide system.
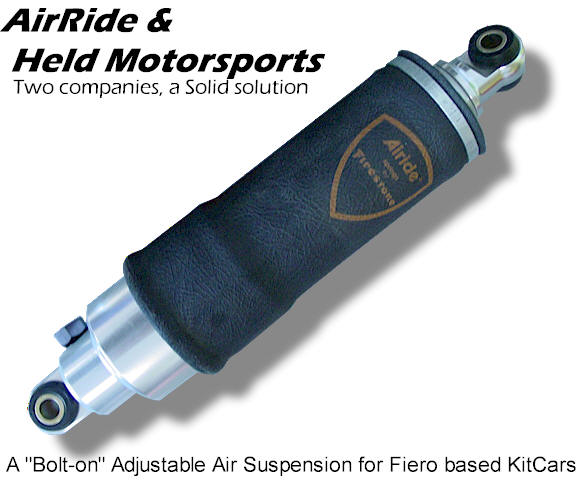
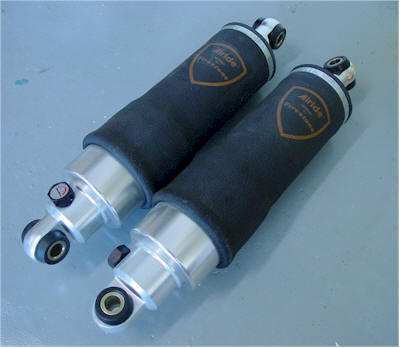
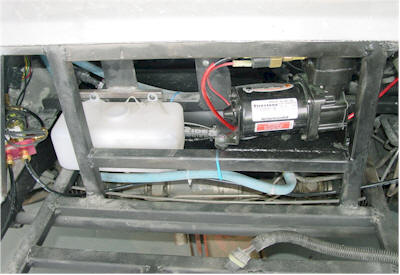
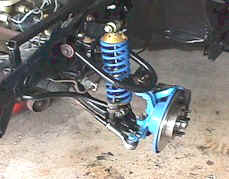
Air Ride provided us
with their SKW7001 (ShockWaves) with a compressed height
of 10.50" and an extended height of 14.25". The
compressor kit we installed was the ARC2000. which
included two remote controlled Air vales, 2 Gallon air
tank, air compressor and control system. This kit will
provide a 2-way solenoid control to control left and
right lift independently. AirRide says "This type of
system also effectively eliminates air transfer from
side to side." They continued to explain that air
transfer is a phenomenon that happens when one side of
the vehicle is heavier than the other side and the air
is forced from one air spring to the one on the other
side. Air transfer can also happen during cornering when
the G force of a vehicle that is turning at speed. The
SKW7001 Shockwaves also have a 12 way adjustable
dampening knob so you can set it as firm or as soft as
you desire. The huge benefit to running air springs is
that the spring rate can be manipulated by simply
increasing or decreasing the air pressure. This means
that by getting yourself familiar with the air system
and the adjustable dampening of the Shockwaves, you can
literally make the car ride and handle exactly how you
want it to.
Our next step was to
find a way to make the system "user friendly." So now we
have this great system that when you see an obstacle we
hold down the left and right buttons to lift the front
but now we have to readjust the ride height back to what
it was before and make it appear balanced and not
lopsided by an onlooker. We began to research methods
to controlling this automatically and found two similar
but distinctly different systems. Air Ride offers a
auto balance system that maintains the ride height no
matter how much weight is added to the vehicle. The
concept is great if you are driving a truck or a
Cadillac however completely opposite of what we wanted.
A true electrical guru could also rig the system up to
the Diablo's OEM air lift system and completely hide the
main unit! All in all this last item made this long
project and research worth it.
Key Points:
1. Completely Bolt
together "kit"
2. Degree of lift: Approximately 3 to 4 inches
3. Ride adjustment/lift time approx 2 seconds
4. Kits start at $1800 The exact kit that we installed
will run you about $2,150
5. Performance equal to a Cadillac
6. Customers who have already purchased Held's wide arm
kits can purchase the new modified A-Arms
7. Optional control components can be added to make the
system more user friendly (ARC-1000)
So almost 6 months
later we successfully pair AirRide Technologies and Held
Motorsport to bring Lambo builders the first REAL
solution to the extremely low front bumper.
Cost & Purchase
information:
This "Kit" is now
available through Held Motorsport
www.heldmotorsport.com. For builders who already
have Held's Wide track you can order a new modified pair
for $275.00 USD
Held says the whole
basic "kit" that includes the Wide track suspension and
Airbag setup will cost you $1800 with a more advanced
kit for more money. If you want to get your Air Ride
components from another place Held will sell you the
Wide Track front suspension without the Shocks and
springs for $650
If you want to add
Dakota Digital's ARC-1000 control system it retails for
$675 however if you are only using 2 of the 4 bag
control you may be able to get a discount for the other
two control solenoids.
We would like to thank
Lee Waldmiller (owner of Held Motorsports) and Bret
Voelkel (Owner of AirRide), Tony Bicknell (AirRide);
Trendsetters of Dayton who did the initial install and
Scott Johnson (Dakota Digital), for all their
cooperation and help.
Resources:

Held
MotorSports
www.heldmotorsports.com
2220 Westwinde St NW
Grand Rapids, MI 49544
Phone: (616) 893-1433
Fax: (616) 735-1175 |
|
Air Ride
Technologies
www.ridetech.com
350 S St Charles Street
Jasper IN, 47546
Phone: (812) 482-2932
Fax: (812) 634-6632
|
Trendsetters of
Dayton
www.trendsettercustoms.com
6246 Executive Blvd
Huber Heights, Oh 45401
Phone: (937) 235-9060
|
|
Dakota Digital
www.dakotadigital.com
Dakota Digital, Inc.
4510 W. 61st St. N.
Sioux Falls, SD 57107
Phone:(800) 593-4160 |
| |
|
|
|