 |
|

| Home | Current Progress | Donor | Engine | Chassis | Exterior | Interior |
|

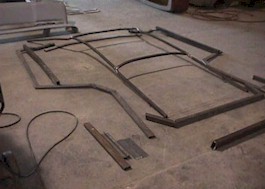
Roll Cage This is the second most difficult task to complete. The roll cage is made up of 1" square tubing. D&R offers a roll cage kit that I purchased. If I had to do it over again, I would have made my own. Although D&R denies it, I believe they welded the front and rear cross member (which should be concaved upward) upside down so that it was concaved downward. This meant I had to cut the roll cage and re-weld several times. Your roll cage should be mounted and welded while the body is in the correct position on the frame. I would recommend cutting each piece individually to length, clamping it to the body and make sure that the body does not warp, you do not want any changes to the body contour, and then tack weld each piece individually. The space between the roll cage and the body should not be any bigger than the tip of your little finger, or a maximum 1/4" gap, less is better as long as the body does not have to flex to meet it. |
||
|
|
 |
|
| Frame kit before I pick it up at D&R. | ||
|
|
 |
|
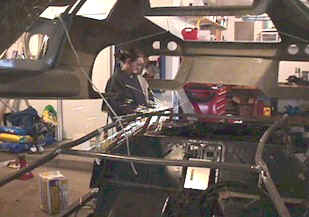
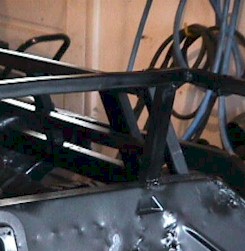
| That's right boys, my wife is Grinding!!! | This is where the roll cage comes together in 3 points, the firewall, the side and the rear. Note my "chop job" because of D&R's "mistake". The final product is actually very neat and clean. | |
 |
 |
|
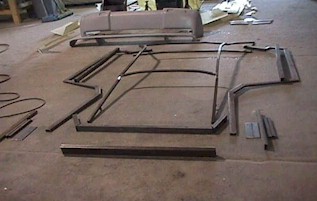
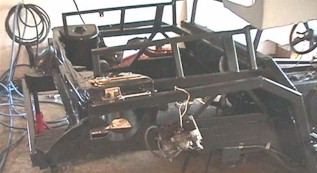
| A different view of the previous photograph. | Rear portion of the roll cage members. The rear of the roll cage will be used to mount part of the body. | |
 |
 |
|
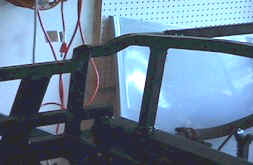
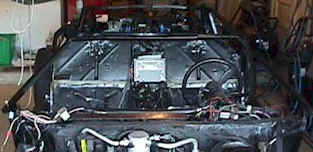
| Front view of roll cage, after completion. | Front left mounting point of the roll cage. | |