 |
|
| Home | Current Progress | Donor | Engine | Chassis | Exterior | Interior |
|

|
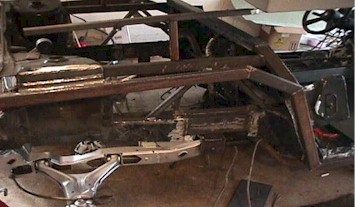
The Stretch This is by far, the most difficult part of the framing and steel section. Not as much as welding, but being precise with your steel. You will have to section the rear of the car into two pieces and re-assemble them perfectly. |
|
|
|
|
|
|
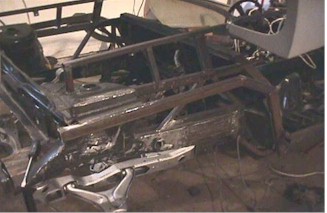 |
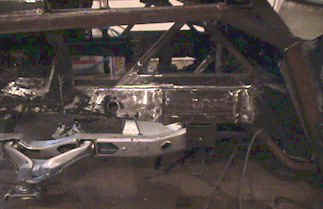
| This is D & R's design for the stretch. It's very clean, and you don't have to cut the K Frame. | |
 |
 |
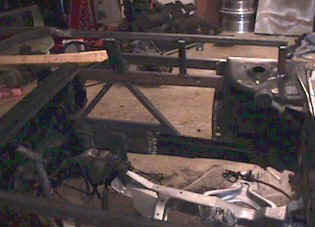
| Note how clean my K Frame looks, thanks to the wife :) | You can see diagonal supports connecting the new steel on top. |
 |
 |
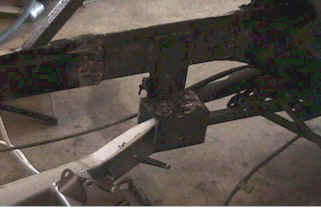
| This is the inside view of the new bracket to hold the K Frame. It is made out of 1/4" steel, and also connects to the original K Frame mounting bracket for extra support. | This is the inside view where you can see the new K Frame bracket and added diagonal supports. |
| Notes : You cut the upper and lower frame rails from the original car approximately 5 inches from the firewall. It doesn't matter how far from the firewall, give or take an inch or two as long as your cuts are consistent. The D&R kit, which is based from an original Diablo, requires a stretch of 10 3/4". I would recommend using a piece of steel 12" to 13" long and sliding the ends into the existing frame rails. Measuring prior to welding is crucial! Measure diagonally in several locations, ensuring your rear end is true. Also, measure from the ground to the top or the bottom of the frame rail and use a level to make sure the two sections are perfectly parallel. Let me tell you, if you mess this up, then you might as well start over. THIS IS VERY VERY VERY IMPORTANT. After tack welding your rear end back on, test fit your K Frame, if the original bolt locations and the new mounting locations don't match up, then you need to fix it (In other words start over). | |
