 |
|
| Home | Current Progress | Donor | Engine | Chassis | Exterior | Interior |
|

|
Side Framing This is more fun, because you can be more creative and unique. D&R's design, makes for a clean fitting of the new steel. There is no major concerns, except when connecting the rear make sure you stay within the correct measurements of your frame stretch. |
|
|
|
 |
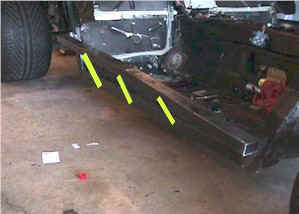
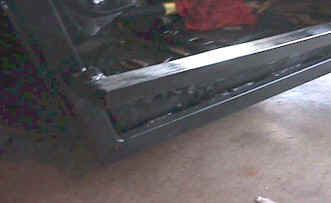
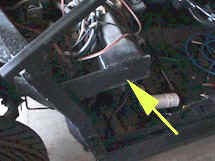
| You'll notice in this picture, the side has two horizontal supports. The upper support is for attaching the body. I intend to place several connecting supports later, to add more rigidity, as indicated by the yellow lines. | This is where the body support connects to the new frame rail at the front of the car. Note : The sheet metal from the original car, is butted up and welded against the new frame rail support. |
|
|
 |
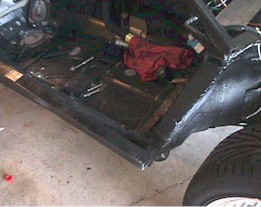
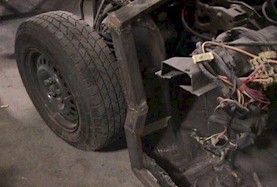
| Another side view . | Rear view of the body support and new side frame rail. |
 |
 |
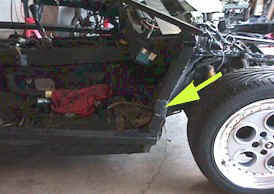
| Note where the side frame rail slants inward to mate with the original door jam location and sheet metal. | You can see the curvature in this photo, taken at D&R. |
 |
 |
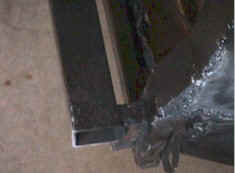
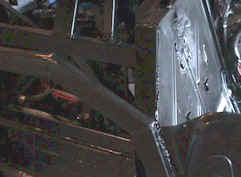
| This is probably the most complicated of all the framing done. The steel from the firewall, the rear, the roll cage, and the sides all meet. But it looks good and clean. | Another picture of the rear/side. |
 |
|
| This side piece on the drivers side replaces the original steering column support. The measurement from the bottom of the steering column rail to the floor pan should be measured prior to disassembly. And measure approximately 17 1/2", the bracket is made out of 1/4" plate steel and welded into position. | |